Plumbing How To

How To Clear A Clogged Drain
There are many ways to clear a clogged drain. It depends on why the drain was clogged in the first place as to how you can clear it. Below are a few examples of how you can clear a clogged drain. Before getting started I recommend taking pictures of each step as you go, to remember how it was before you removed anything! You do not want to get started then have to call in a plumber for your mistakes.
1) Removing grease clogs. This is a remedy for a sink without a dishwasher attached. Remove all of the standing water from the sink. If you have a sink basket remove that as well and clean out any of the contents that is caught in the drain opening. Boil some water on the stove and add in some vinegar, a 60/40 water/vinegar mixture is fine. Pour the boiling water into the drain to help break up and of the grease.
2) Take baking soda and pack it into the drain as tight as you can go. I usually start off with a small box of baking soda. Once it is packed into the drain take a bottle of vinegar and dump it into the drain. When the two mix, there will be a chemical reaction and the pressure of it will usually clean out a drain. Also if you sink begins to stink then you can make vinegar ice cubes and dump them into a drain then turn on the garbage disposal while dumping in vinegar.
3) Using a plunger. I suggest using a Heavy Duty Plunger. If there is a dishwasher attached to your sink then you should clamp the drain hose going to the dishwasher, preventing anything going into it. Also if you have a double sink make sure you make one air tight with a rag or something similar. Then run enough hot water into the sink to cover the tip of the plunger completely. Pump up and down at least 2 dozen times without breaking the seal, and then sharply pull away the plunger and repeat if necessary.
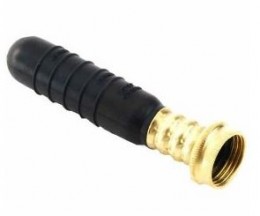
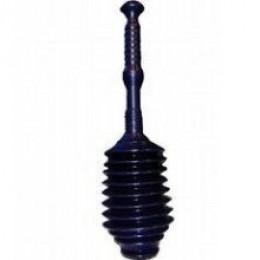
4) Using a hose (you can also use a plumbing bladder). Again if you have a double sink, make sure to block off one of the drains. feed the hose down the other drain and pack rags tightly around the hose. Hold the hose firmly in place and turn the faucet on and off several times. If water continues to build up then you will need to remove the trap. DO NOT LEAVE the hose attached to the faucet if you remove the trap.
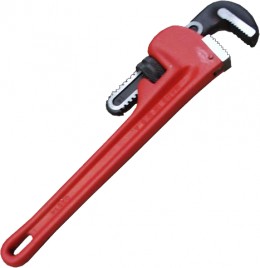
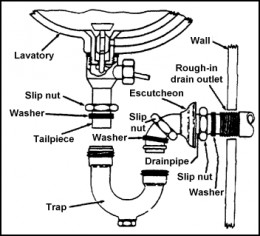
5) Removing the Trap. Place a pan under the trap. You want to make sure you support the bend with one hand and loosen with the other, to prevent the pipe from breaking. Loosen the slip nuts on each end using a pipe wrench. Push the loosened slip nuts and beveled washers up onto the pipe above. Then pull the trap free. Empty the bend into the container then scrub it out with a hot water/vinegar mixture or a degreaser, Dove soap works wonders as well. If you removed the clog then you will reinstall the trap using new washers then test the drain while the bucket is still under it. If the clog is still present then you will need to buy a hand held auger.
6) Auguring the Branch Drain. Remove the trap arm from the wall where it comes into your house. Feed the hand held auger into the drain, where it enters the house, for as far back as it will go. Make sure you do not ram it into the drain; this can cause serious damage to the drain and run up your quick and easy home project into some big bucks. Once you feed the auger into the drain you want to crank it until you break the clog loose. Once the clog is loose you will reconnect the trap assembly using new washers and tighten all of the slip nuts. Once everything is connected, make sure to test the drain. Give yourself a pat on the back you just saved yourself some money.